
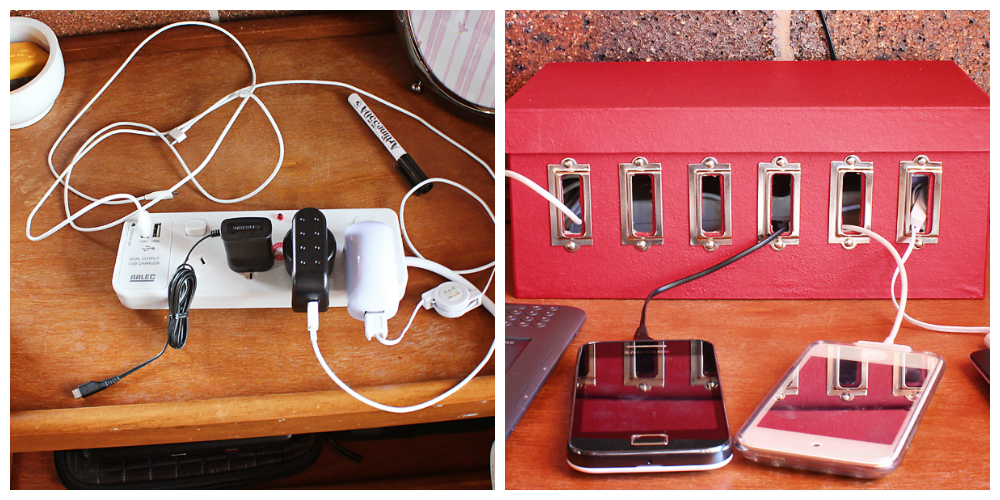
With the recent addition of more electronic devices to the household,
the recharge cables were starting to get a little out of control
I’d pinned this cord organizing idea and knew that it would end up being one of my school holiday diy projects. And with just a little time and a few bits and pieces, you can tame all of your recharge cables too!
What you need:
cardboard storage box (an old shoe box would work just as well)
book plates (the brass eyelets I had originally wanted to use proved too hard to find in our little town)
small brads
craft knife
sharp pointy item to punch holes
power board
paint
pencil
ruler
What to do:
Measure and mark on your box where you want to place the book plates. I spaced them evenly using a ruler and then used the pencil to mark the inside area of the plates (to cut out later) and the holes where I would place the brads to keep the plates in place.

from left: book plates; marking the holes to cut out & punch; all cut & ready to file.
Once I’d cut the rectangles, I gave them a quick file to tidy up some of the raggedy edges and used my big needle to punch the holes needed for the brads.
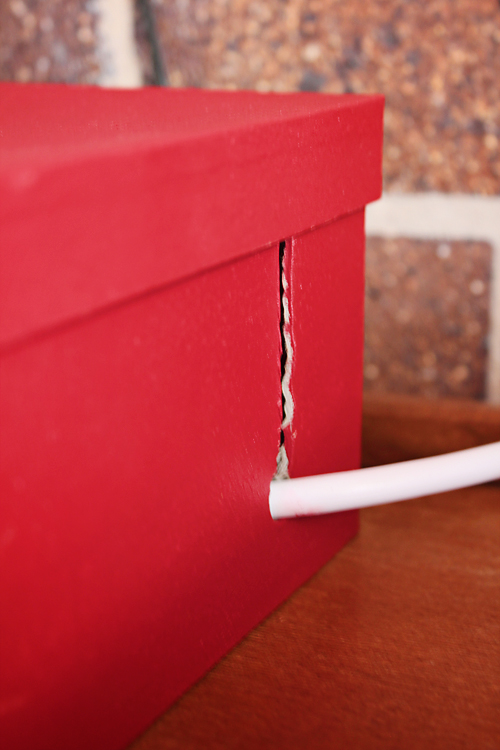
At this point I also cut and punched a hole for the power board cord to poke out of the box. This one had me stumped for a little while, but seeing as it’s not that visible, I wasn’t too worried that it didn’t look pretty!
Then it was time for a coat of paint (the kids chose red!) and once dry, to attach the book plates.
Too easy!
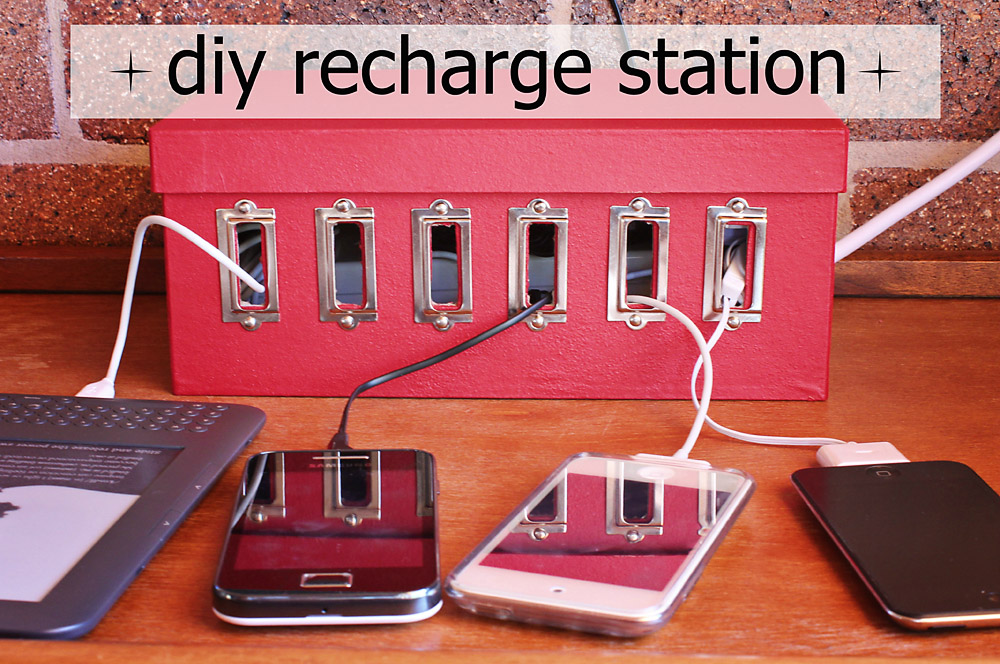
only 30 minutes from start to finish and you’ll have yourself a stylish recharge station
From cord chaos to organised in only 30 minutes… Now I just have to get everyone to remember to turn the power board off at the wall when it’s not being used…!!


Your a genius!!It looks so much more tidier and organised. And it looks like its easy to make!! I can’t wait to start my project too!Thanks for the inspiration!
You’re most welcome Anita!
It’s definitely made the cord clutter much more manageable. Have fun creating yours 🙂
Tasha xo
Amazing idea!
Thanks Jorina 🙂
Tasha xo
Where did you find the book plates?
Sarah, I found them at my local Lincraft store.
Hope that helps!
Tasha xo
You are a genius! I stumbled across this link from Pinterest and fell in love. Would you be able to offer ideas on where I would be able to get a power board and the book plates? Is Michael’s or Hobby Lobby a good place to start? With chargers left and right, I am in need of this ASAP! Thanks for the great DIY project.
Ashley, as I’m in Oz I’m not 100% sure on where you’ll be able to source your supplies. I got my bookplates from Lincraft – and I’m sure any reputable craft store would stock them – and with regards to the powerboard… one that fits in the box you use for your charger station…?!
Good luck with creating your own!
Tasha xo
Hello Tasha –
I was so ispired by your outstanding project that I went out and bought all my supplies, today. BIG problem. I have a photo box I purchased from Michael’s but I am unable to cut holes in it neatly like yours. It’s already a mess. I used an awl, exacto knife and then scissors. How did you get your cut out lines to look so smooth? Any suggestions/advice would be appreciated.
Thank you.
Jjay
Jjay, I used a really sharp knife and went really slowly while I was cutting… Then I used a metal file and tidied the cut marks up a bit more. The corners were still a bit raggedy, but the book plates hide them pretty well.
Hope that helps!
And good luck!! Let me know how it turns out 🙂
Cheers,
Tasha
Good Morning, Tasha,
I went out and purchased a new cutting knife and blade and that made all the difference. I practiced cutting holes in my old box and then cut the holes slowly, as you suggested, on the new box. I was quite successful and must thank you. This charging station is just what I wanted. I will send a picture to you, also. I want to thank you for your prompt response to my email. I very much appreciated that, too. Again, thank you for sharing your wonderful idea!!
Sincerely,
Jjay
So glad that it worked for you Jjay – and thank you too for sending through the photo of your finished charger station 🙂
Tasha